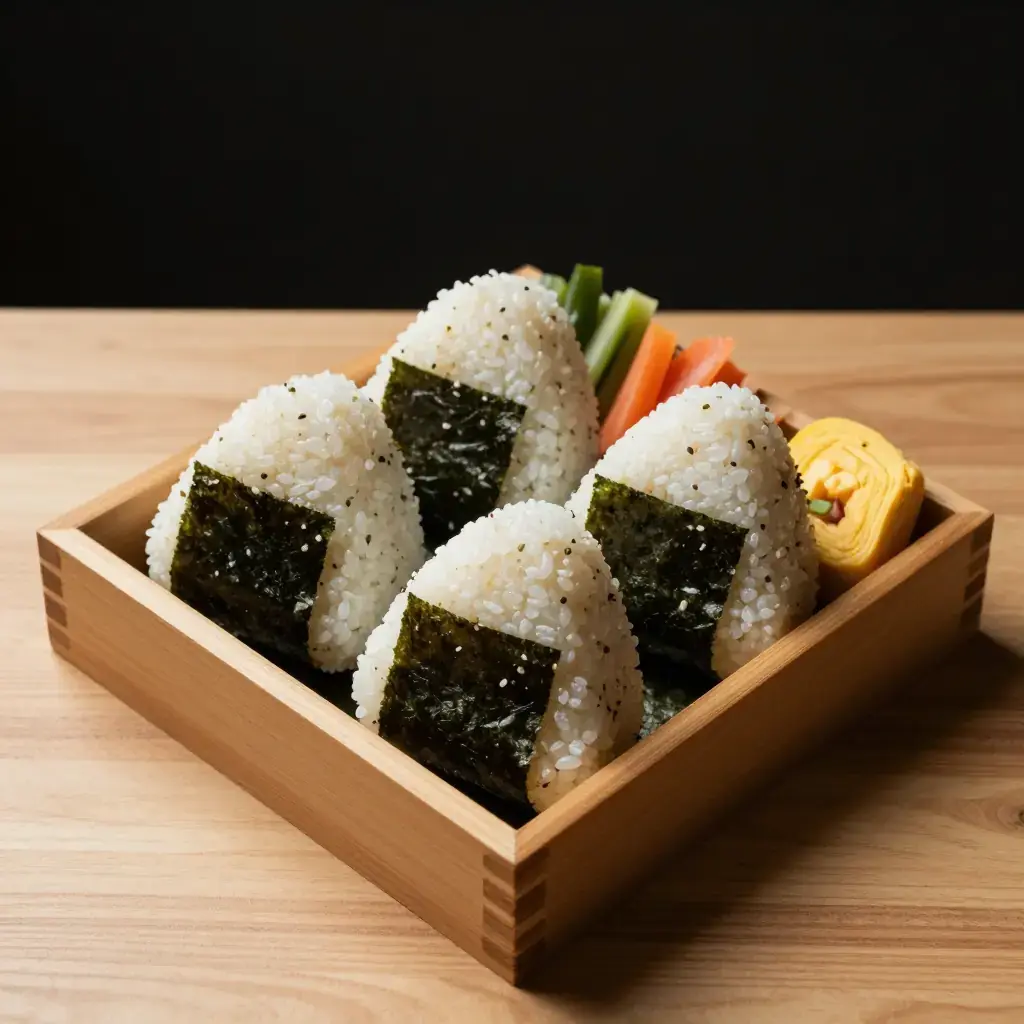
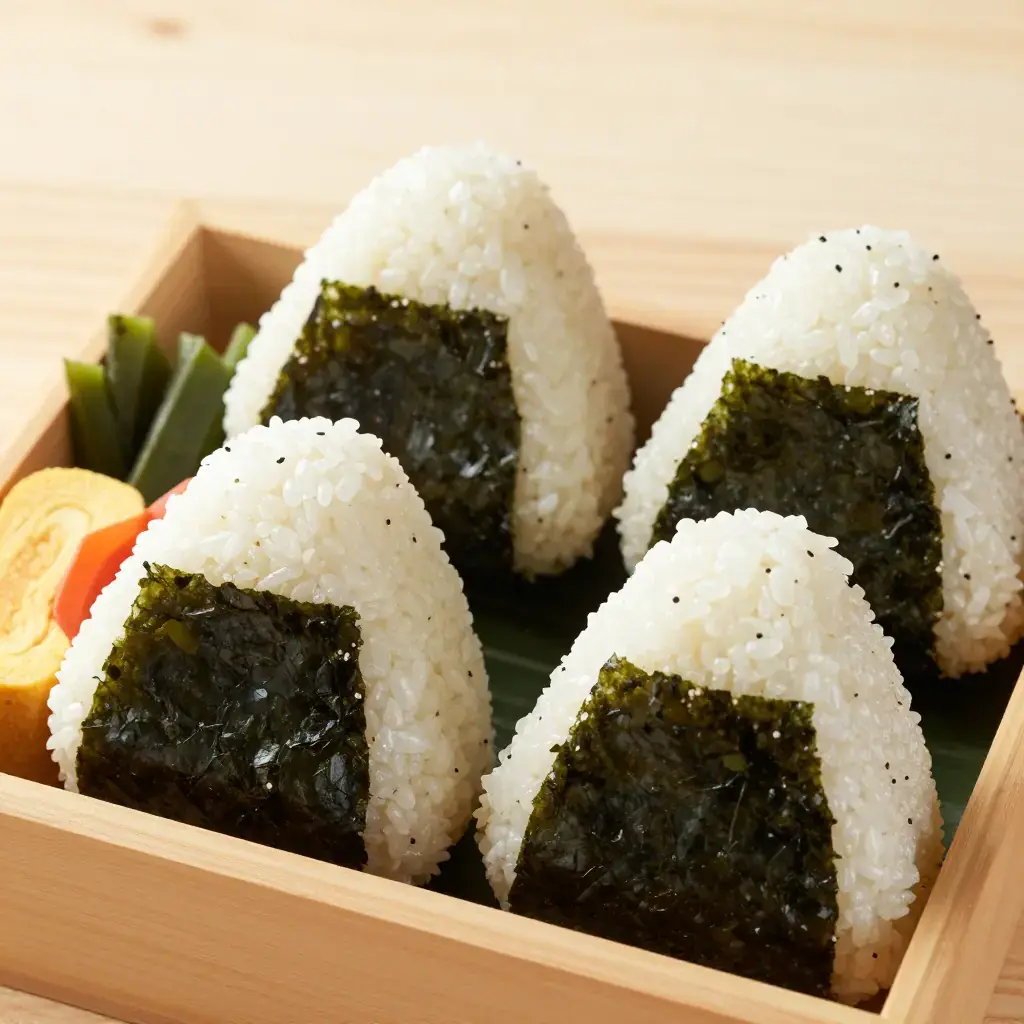
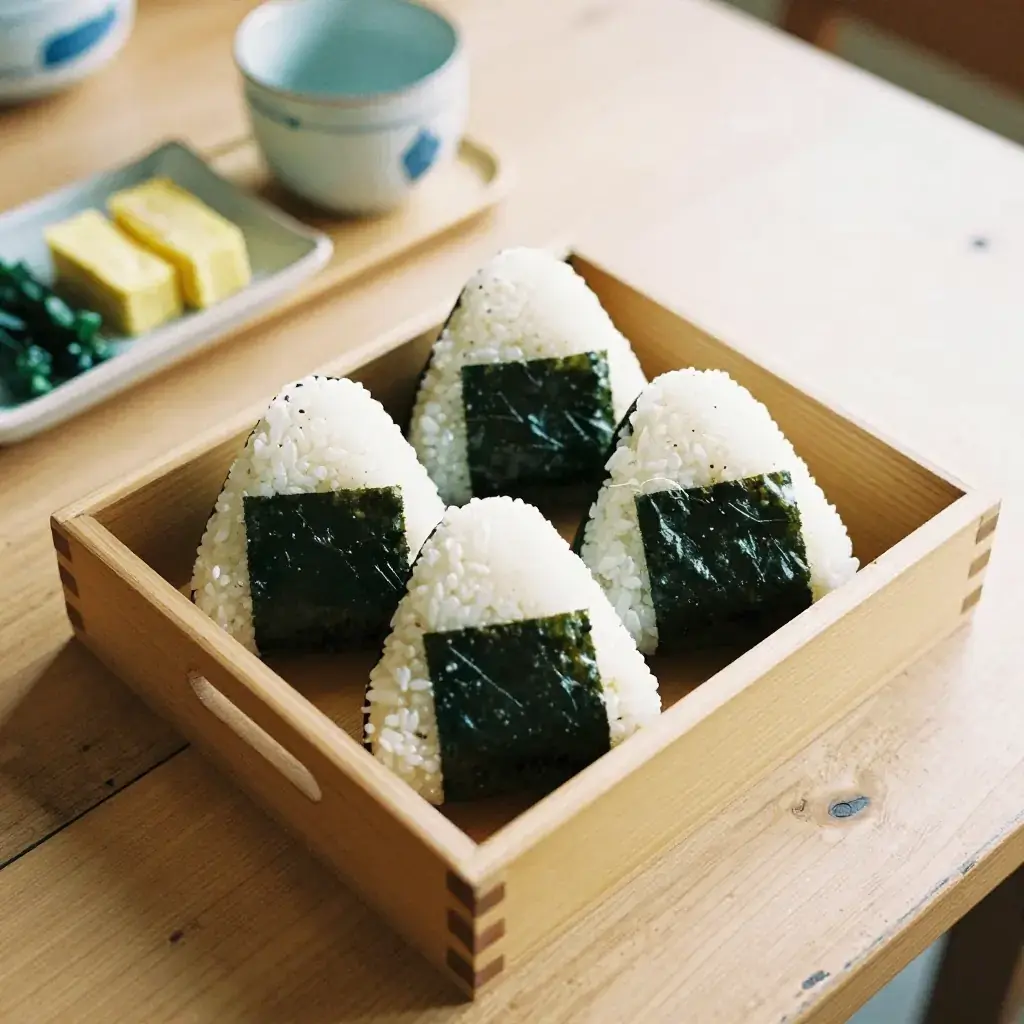
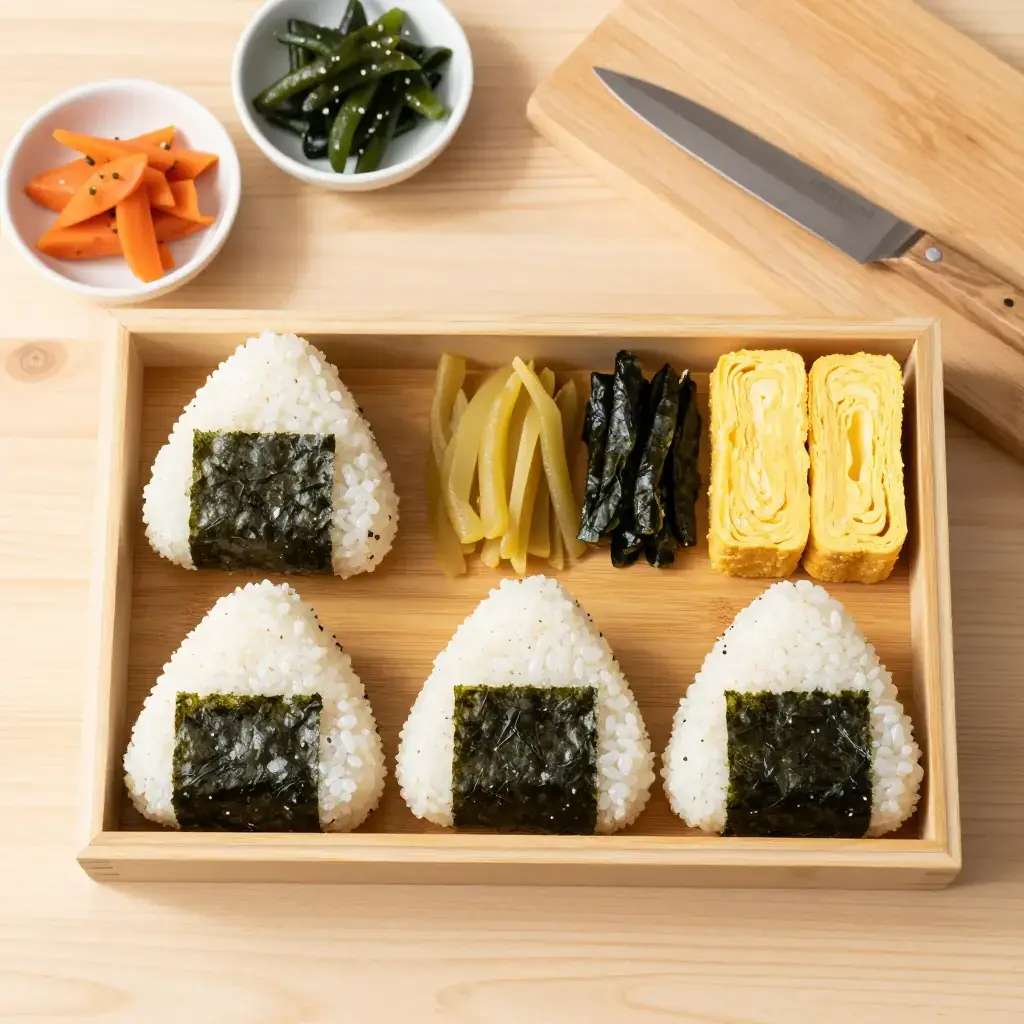
Japanese Rice Ball Lunch
Onigiri have been packed into Japanese lunch boxes for over a thousand years — the earliest written record dates to the Heian period. These hand-pressed rice triangles or balls filled with savory fillings and wrapped in toasted nori are the perfect portable meal: satisfying, room-temperature friendly, and deeply comforting in their simplicity.
Serves: 4 (makes 8 onigiri)
Ingredients
- 600g (3 cups) Japanese short-grain sushi rice, uncooked
- 750ml (3 cups) water
- 2 tsp (10ml) rice vinegar
- 1 tsp (5ml) sugar
- 1 tsp (5ml) fine salt
- 4 sheets toasted nori, each cut in half
Filling options (choose two or mix):
- 150g (5.3 oz) canned tuna mixed with 2 tbsp (30ml) Japanese mayonnaise
- 100g (3.5 oz) umeboshi (pickled plum), pitted and mashed
- 100g (3.5 oz) cooked salted salmon, flaked
For shaping:
- Small bowl of water
- Salt for palms
Instructions
- Wash rice until water runs clear, about 4-5 rinses. Cook rice with water in a rice cooker or pot. If using a pot: bring to a boil, reduce to lowest heat, cover, and cook 13 minutes. Rest covered for 10 minutes off heat.
- While rice is still hot, gently fold in rice vinegar, sugar, and salt. Fan the rice as you fold to cool it slightly — it should be warm but handleable.
- Prepare your chosen fillings. Mash umeboshi if using.
- Wet your hands with water and rub a small pinch of salt on your palms.
- Scoop about 80g (2.8 oz) of warm rice into one hand. Make a small indent in the center and add about 1 tbsp (15ml) of filling.
- Fold the rice around the filling and shape firmly into a triangle or oval, pressing with moderate pressure to compact without squashing. Rotate and press each face 3-4 times.
- Wrap the base of each onigiri with a half-sheet of nori just before eating or packing — this keeps the nori crisp.
- Pack into a lunch box at room temperature. Consume within 4-6 hours.
Cook's Notes: Warm hands help shape; cold hands firm the rice too fast. For make-ahead lunches, wrap nori separately and attach just before eating. Onigiri hold best at room temperature — refrigerating makes the rice hard and dry.
All Revisions
generated
# Japanese Rice Ball Lunch Onigiri have been packed into Japanese lunch boxes for over a thousand years — the earliest written record dates to the Heian period. These hand-pressed rice triangles or balls filled with savory fillings and wrapped in toasted nori are the perfect portable meal: satisfying, room-temperature friendly, and deeply comforting in their simplicity. Serves: 4 (makes 8 onigiri) ## Ingredients - 600g (3 cups) Japanese short-grain sushi rice, uncooked - 750ml (3 cups) water - 2 tsp (10ml) rice vinegar - 1 tsp (5ml) sugar - 1 tsp (5ml) fine salt - 4 sheets toasted nori, each cut in half **Filling options (choose two or mix):** - 150g (5.3 oz) canned tuna mixed with 2 tbsp (30ml) Japanese mayonnaise - 100g (3.5 oz) umeboshi (pickled plum), pitted and mashed - 100g (3.5 oz) cooked salted salmon, flaked **For shaping:** - Small bowl of water - Salt for palms ## Instructions 1. Wash rice until water runs clear, about 4-5 rinses. Cook rice with water in a rice cooker or pot. If using a pot: bring to a boil, reduce to lowest heat, cover, and cook 13 minutes. Rest covered for 10 minutes off heat. 2. While rice is still hot, gently fold in rice vinegar, sugar, and salt. Fan the rice as you fold to cool it slightly — it should be warm but handleable. 3. Prepare your chosen fillings. Mash umeboshi if using. 4. Wet your hands with water and rub a small pinch of salt on your palms. 5. Scoop about 80g (2.8 oz) of warm rice into one hand. Make a small indent in the center and add about 1 tbsp (15ml) of filling. 6. Fold the rice around the filling and shape firmly into a triangle or oval, pressing with moderate pressure to compact without squashing. Rotate and press each face 3-4 times. 7. Wrap the base of each onigiri with a half-sheet of nori just before eating or packing — this keeps the nori crisp. 8. Pack into a lunch box at room temperature. Consume within 4-6 hours. **Cook's Notes:** Warm hands help shape; cold hands firm the rice too fast. For make-ahead lunches, wrap nori separately and attach just before eating. Onigiri hold best at room temperature — refrigerating makes the rice hard and dry.Images
Tags
- authentic
- from-input
- japanese
- lunch
- packed-lunch
- rice
- room-temp
- seafood