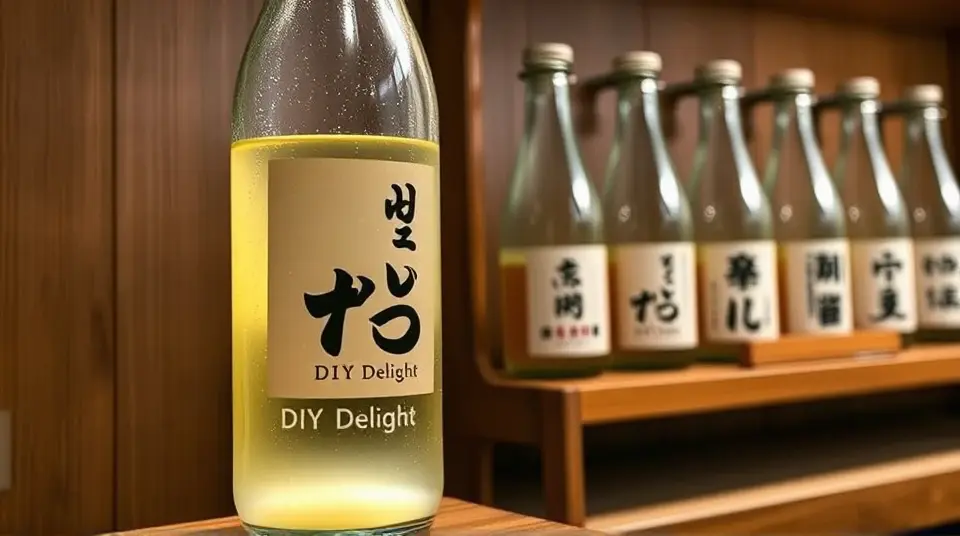
DIY Delight: Your Own Sake Brewing Guide 🍶✨
Sake, the exquisite Japanese rice wine, embodies centuries of tradition and craftsmanship. This guide will walk you through the brewing process, allowing you to create this fermented delight right in your home. With a bit of patience and a sprinkle of love, you'll have a refreshing beverage to enjoy with friends or on special occasions!
Ingredients
For the main brew
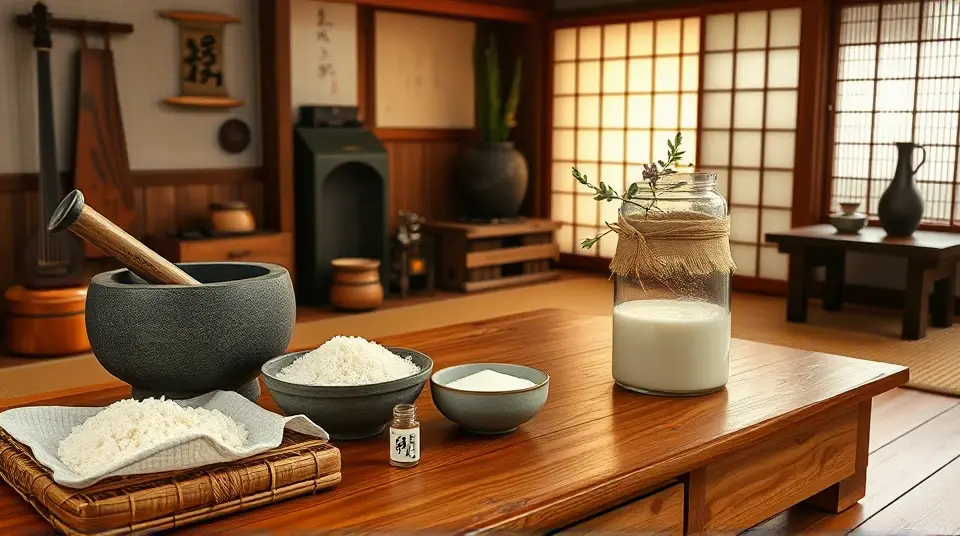
- 2 cups of short-grain rice (like sushi rice)
- 1/2 cup of koji rice (rice inoculated with Aspergillus oryzae)
- 4 cups of water (plus extra for washing)
- 1/4 teaspoon of yeast (wine or sake yeast preferred)
- 1 tablespoon of sugar (optional, for sweetness)
For fermentation
- 2-quart glass jar or a food-safe fermentation vessel
- Clean cloth or cheesecloth (to cover the jar)
- Rubber band or string (to secure the cover)
Instructions
- Wash the Rice: Rinse the short-grain rice under cold water until the water runs clear. This helps remove excess starch, preventing your sake from becoming cloudy.
💧 Rinse until water runs clear—this is crucial for a clean-tasting sake!
-
Soak the Rice: Soak the rinsed rice in water for about 8 hours (preferably overnight). This softens the grains for steaming.
-
Steam the Rice: Drain the soaked rice and steam it for about 30 minutes until tender. Using a bamboo steamer lined with cheesecloth works well!
-
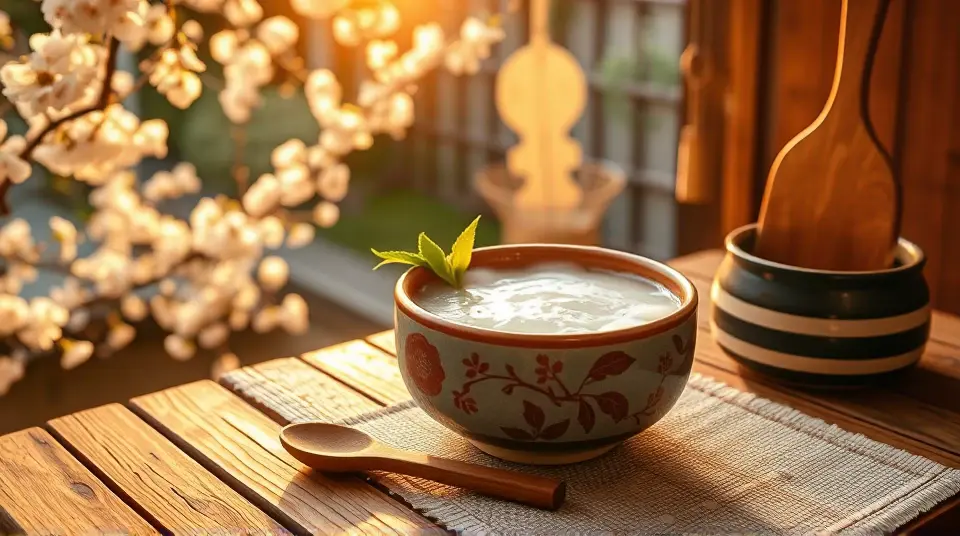
Cool and Combine: Once steamed, transfer the rice to a large, clean bowl or tray to cool down to room temperature. Mix in the koji rice evenly.
🌾 Koji rice is key to converting starches into sugars, which will then ferment to create alcohol!
-
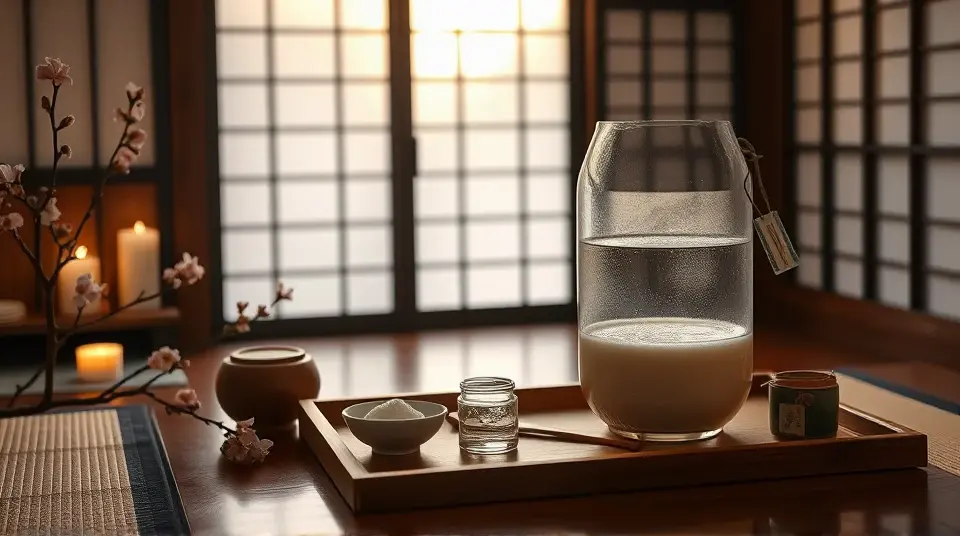
Fermentation Phase 1: In your fermentation vessel, combine the cooled rice mixture with 4 cups of water. Stir in the yeast and sugar if using. Cover the vessel with a clean cloth and secure it with a rubber band. Leave it at room temperature for about 3 days.
-
Fermentation Phase 2: Stir the mixture every day. You should see bubbles forming, indicating fermentation is taking place. On the third day, it should be quite frothy!
-
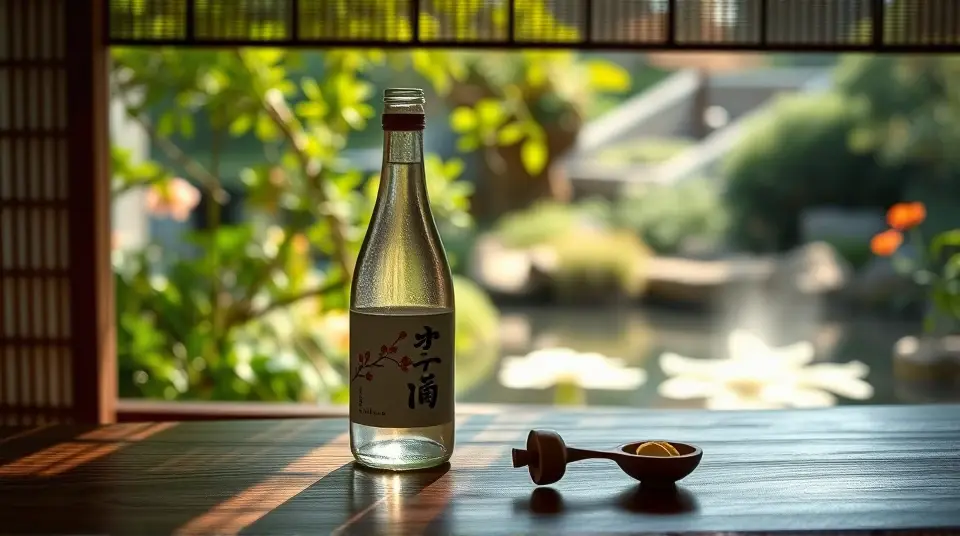
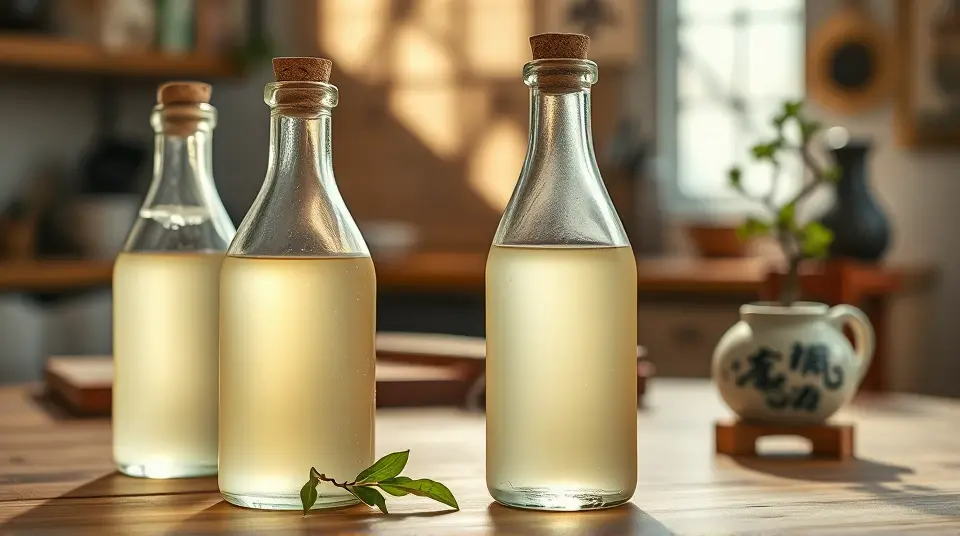
Strain and Bottle: After 7-10 days of fermentation (or when bubbling has significantly slowed), strain the mixture through a fine mesh strainer or cheesecloth into clean bottles, squeezing gently to extract as much liquid as possible.
-
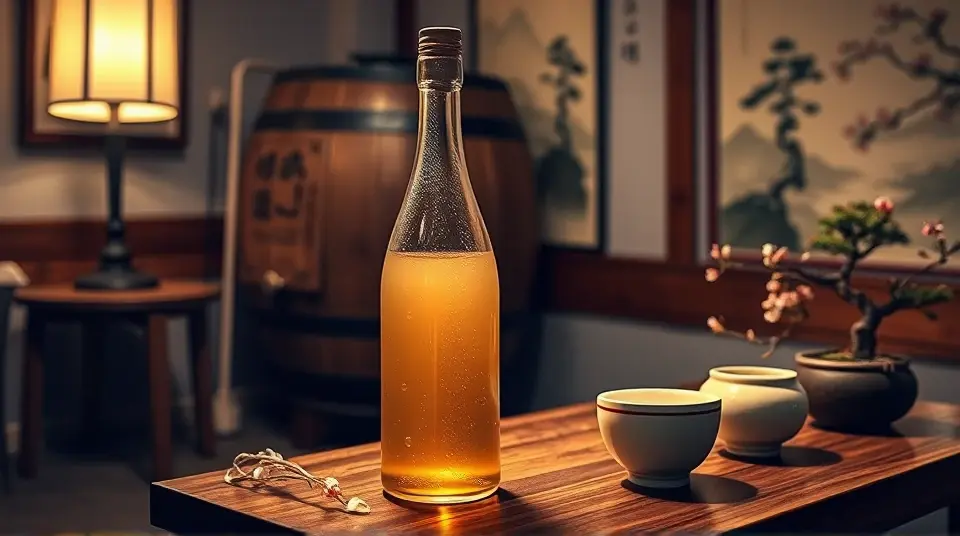
Age Your Sake: Seal the bottles and let them age in the fridge for about another week. This allows the flavors to settle and mature.
⏳ Letting your sake age enhances its character, so don’t rush this step!
Variations
-
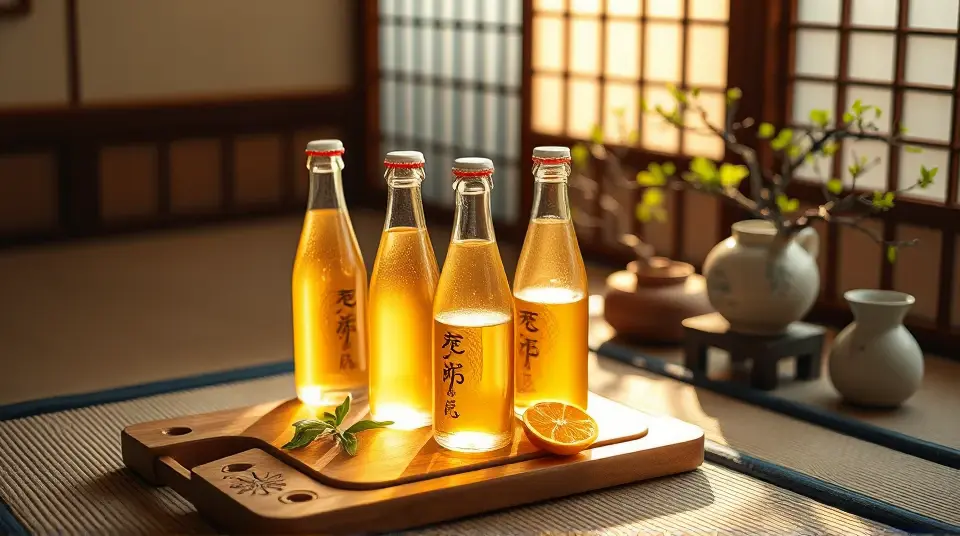
Flavored Sake: Infuse with fruits like yuzu, plum, or raspberries during fermentation for a delightful twist! Just add the fruit in after the first phase of fermentation.
-
Sparkling Sake: Before bottling, add a pinch of sugar to each bottle and seal quickly to encourage carbonation. Chill and enjoy a fizzy experience! 🍾
-
Herbal Sake: Incorporate herbs like shiso or mint during the first fermentation phase for a unique taste profile.
-
Sweet Sake: Increase the sugar content or add sweet fruit juices before bottling to produce a sweeter sake.
Tips for Success
🌡️ Temperature is key! A cooler environment (around 60-70°F) is best for producing cleaner, more refined flavors.
🧴 Ensure everything is sanitized to avoid unwanted bacteria. Cleanliness is crucial in brewing!
Now that you've mastered the art of sake brewing, gather your friends, pour a glass, and toast to your home-crafted masterpiece! 🍶✨ Cheers!
All Revisions
name
Guide to Making your own Sakellm
# DIY Delight: Your Own Sake Brewing Guide 🍶✨ Sake, the exquisite Japanese rice wine, embodies centuries of tradition and craftsmanship. This guide will walk you through the brewing process, allowing you to create this fermented delight right in your home. With a bit of patience and a sprinkle of love, you'll have a refreshing beverage to enjoy with friends or on special occasions! ## Ingredients ### For the main brew - 2 cups of short-grain rice (like sushi rice) - 1/2 cup of koji rice (rice inoculated with Aspergillus oryzae) - 4 cups of water (plus extra for washing) - 1/4 teaspoon of yeast (wine or sake yeast preferred) - 1 tablespoon of sugar (optional, for sweetness) ### For fermentation - 2-quart glass jar or a food-safe fermentation vessel - Clean cloth or cheesecloth (to cover the jar) - Rubber band or string (to secure the cover) ## Instructions 1. **Wash the Rice**: Rinse the short-grain rice under cold water until the water runs clear. This helps remove excess starch, preventing your sake from becoming cloudy. > 💧 Rinse until water runs clear—this is crucial for a clean-tasting sake! 2. **Soak the Rice**: Soak the rinsed rice in water for about 8 hours (preferably overnight). This softens the grains for steaming. 3. **Steam the Rice**: Drain the soaked rice and steam it for about 30 minutes until tender. Using a bamboo steamer lined with cheesecloth works well! 4. **Cool and Combine**: Once steamed, transfer the rice to a large, clean bowl or tray to cool down to room temperature. Mix in the koji rice evenly. > 🌾 Koji rice is key to converting starches into sugars, which will then ferment to create alcohol! 5. **Fermentation Phase 1**: In your fermentation vessel, combine the cooled rice mixture with 4 cups of water. Stir in the yeast and sugar if using. Cover the vessel with a clean cloth and secure it with a rubber band. Leave it at room temperature for about 3 days. 6. **Fermentation Phase 2**: Stir the mixture every day. You should see bubbles forming, indicating fermentation is taking place. On the third day, it should be quite frothy! 7. **Strain and Bottle**: After 7-10 days of fermentation (or when bubbling has significantly slowed), strain the mixture through a fine mesh strainer or cheesecloth into clean bottles, squeezing gently to extract as much liquid as possible. 8. **Age Your Sake**: Seal the bottles and let them age in the fridge for about another week. This allows the flavors to settle and mature. > ⏳ Letting your sake age enhances its character, so don’t rush this step! ## Variations - **Flavored Sake**: Infuse with fruits like yuzu, plum, or raspberries during fermentation for a delightful twist! Just add the fruit in after the first phase of fermentation. - **Sparkling Sake**: Before bottling, add a pinch of sugar to each bottle and seal quickly to encourage carbonation. Chill and enjoy a fizzy experience! 🍾 - **Herbal Sake**: Incorporate herbs like shiso or mint during the first fermentation phase for a unique taste profile. - **Sweet Sake**: Increase the sugar content or add sweet fruit juices before bottling to produce a sweeter sake. ## Tips for Success > 🌡️ Temperature is key! A cooler environment (around 60-70°F) is best for producing cleaner, more refined flavors. > > 🧴 Ensure everything is sanitized to avoid unwanted bacteria. Cleanliness is crucial in brewing! Now that you've mastered the art of sake brewing, gather your friends, pour a glass, and toast to your home-crafted masterpiece! 🍶✨ Cheers!Images
Tags
- dairy-free
- fermented
- from-input
- gluten-free
- japanese
- nut-free
- rice
- vegan
- weekend-project