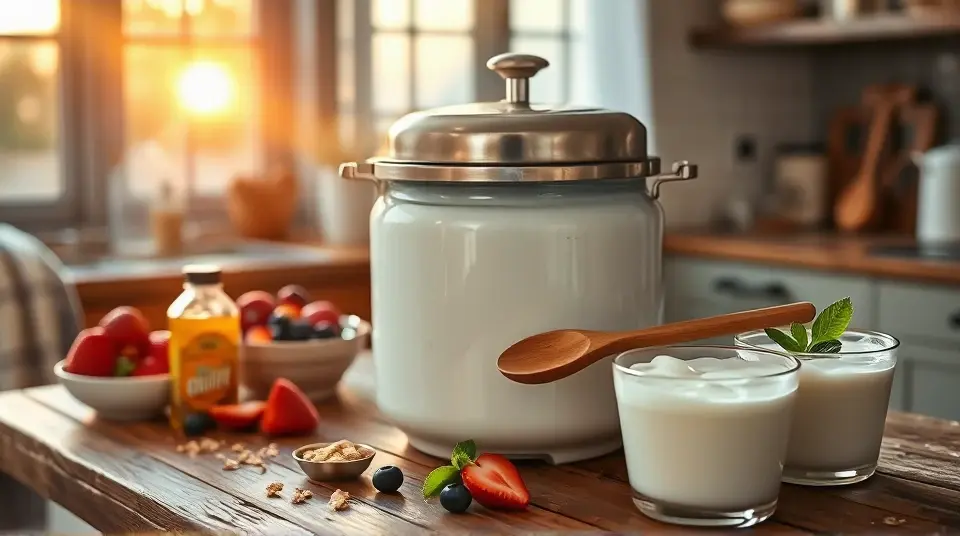
Creamy Dreamy Pressure Cooker Yogurt 🍶✨
Making yogurt at home is not only rewarding but also incredibly easy when using a pressure cooker! This creamy, tangy yogurt can be enjoyed on its own or customized with fruits, honey, granola, or any toppings you desire. Perfect for breakfast, snacks, or even a healthy dessert!
Ingredients
For the yogurt base
- 4 cups of whole milk (or any milk of your choice)
- 1/2 cup of plain yogurt (with live cultures)
Optional sweeteners
- 2-3 tablespoons of honey or maple syrup (to taste)
Flavors (optional)
- 1 teaspoon vanilla extract
- A pinch of salt
Instructions
-
Prep the Milk: Pour the milk into your pressure cooker. If using, add the sweeteners, vanilla extract, and salt at this stage for a subtle flavor boost.
-
Heat the Milk: Close the lid of the pressure cooker. Select the “Yogurt” setting (if available) or manually set to low heat. Heat the milk until it reaches about 180°F (82°C). If your pressure cooker doesn’t have a thermometer, just bring it to a gentle simmer—bubbles should form around the edges.
🥄 Make sure to stir occasionally to prevent scorching on the bottom of the pot.
-
Cool the Milk: Once heated, unplug the pressure cooker and let the milk cool to approximately 110°F (43°C). You can speed this up by placing the insert in an ice bath or letting it sit for about 15-30 minutes.
-
Add the Yogurt Cultures: In a small bowl, mix the plain yogurt with a cup of the cooled milk until smooth. Then, gently whisk this mixture back into the pot of cooled milk.
-
Incubate the Yogurt: Return the lid to the pressure cooker. If it has a yogurt setting, select it and set the time for 8-12 hours. If not, just keep the lid on in a warm spot. The longer you let it sit, the tangier the yogurt will become!
🕒 Ideal incubation time is around 8-10 hours, but feel free to adjust based on your taste preference.
-
Finish Up: After incubation, check the yogurt. It should be thick and creamy. If it’s not as thick as you’d like, let it sit for another hour or two.
-
Chill: Transfer the yogurt to clean, airtight containers and refrigerate for at least 4 hours before serving. This will help thicken it further and enhance the flavors.
-
Enjoy: Serve plain, or customize with your favorite toppings—fresh fruit, nuts, granola, or a drizzle of honey!
🍯 Feel free to reserve a few tablespoons of your homemade yogurt to use as a starter for the next batch!
Variations
- Fruit-Infused Yogurt: Blend fresh or frozen fruits into the yogurt after it has set, or layer them on top for a delicious parfait.
- Dairy-Free: Use coconut milk or almond milk combined with a vegan yogurt starter for a plant-based option. Make sure the milk has sufficient fat for creaminess!
- Greek Yogurt: For a thicker consistency, strain the yogurt in a cheesecloth-lined strainer for a few hours after it’s set.
- Flavor Boosters: Experiment with spices like cinnamon or cardamom or add a little matcha for a unique twist!
Enjoy your homemade yogurt adventures! 🥄🍓
All Revisions
llm
# Creamy Dreamy Pressure Cooker Yogurt 🍶✨ Making yogurt at home is not only rewarding but also incredibly easy when using a pressure cooker! This creamy, tangy yogurt can be enjoyed on its own or customized with fruits, honey, granola, or any toppings you desire. Perfect for breakfast, snacks, or even a healthy dessert! ## Ingredients ### For the yogurt base - 4 cups of whole milk (or any milk of your choice) - 1/2 cup of plain yogurt (with live cultures) ### Optional sweeteners - 2-3 tablespoons of honey or maple syrup (to taste) ### Flavors (optional) - 1 teaspoon vanilla extract - A pinch of salt ## Instructions 1. **Prep the Milk:** Pour the milk into your pressure cooker. If using, add the sweeteners, vanilla extract, and salt at this stage for a subtle flavor boost. 2. **Heat the Milk:** Close the lid of the pressure cooker. Select the “Yogurt” setting (if available) or manually set to low heat. Heat the milk until it reaches about 180°F (82°C). If your pressure cooker doesn’t have a thermometer, just bring it to a gentle simmer—bubbles should form around the edges. > 🥄 Make sure to stir occasionally to prevent scorching on the bottom of the pot. 3. **Cool the Milk:** Once heated, unplug the pressure cooker and let the milk cool to approximately 110°F (43°C). You can speed this up by placing the insert in an ice bath or letting it sit for about 15-30 minutes. 4. **Add the Yogurt Cultures:** In a small bowl, mix the plain yogurt with a cup of the cooled milk until smooth. Then, gently whisk this mixture back into the pot of cooled milk. 5. **Incubate the Yogurt:** Return the lid to the pressure cooker. If it has a yogurt setting, select it and set the time for 8-12 hours. If not, just keep the lid on in a warm spot. The longer you let it sit, the tangier the yogurt will become! > 🕒 Ideal incubation time is around 8-10 hours, but feel free to adjust based on your taste preference. 6. **Finish Up:** After incubation, check the yogurt. It should be thick and creamy. If it’s not as thick as you’d like, let it sit for another hour or two. 7. **Chill:** Transfer the yogurt to clean, airtight containers and refrigerate for at least 4 hours before serving. This will help thicken it further and enhance the flavors. 8. **Enjoy:** Serve plain, or customize with your favorite toppings—fresh fruit, nuts, granola, or a drizzle of honey! > 🍯 Feel free to reserve a few tablespoons of your homemade yogurt to use as a starter for the next batch! ## Variations - **Fruit-Infused Yogurt:** Blend fresh or frozen fruits into the yogurt after it has set, or layer them on top for a delicious parfait. - **Dairy-Free:** Use coconut milk or almond milk combined with a vegan yogurt starter for a plant-based option. Make sure the milk has sufficient fat for creaminess! - **Greek Yogurt:** For a thicker consistency, strain the yogurt in a cheesecloth-lined strainer for a few hours after it’s set. - **Flavor Boosters:** Experiment with spices like cinnamon or cardamom or add a little matcha for a unique twist! Enjoy your homemade yogurt adventures! 🥄🍓name
Pressure Cooker YogurtImages


Tags
- breakfast
- fermented
- from-input
- gluten-free
- nut-free
- snack
- vegetarian
- weekend-project