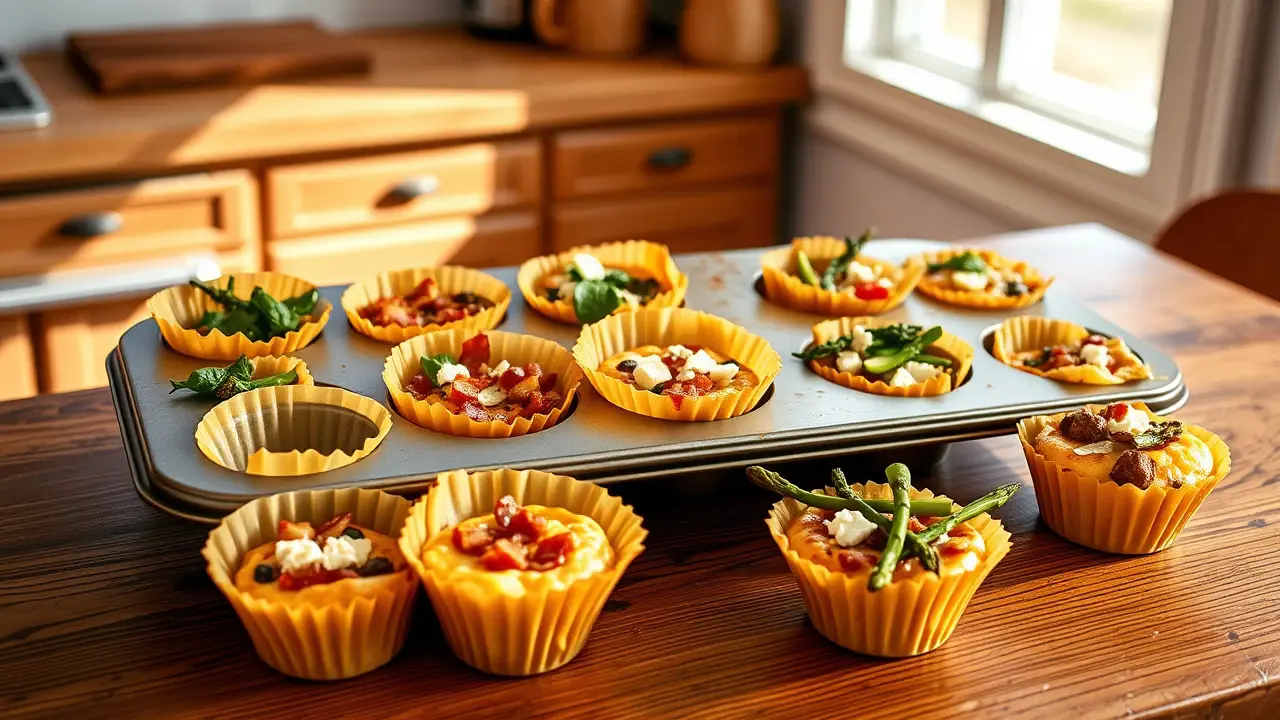
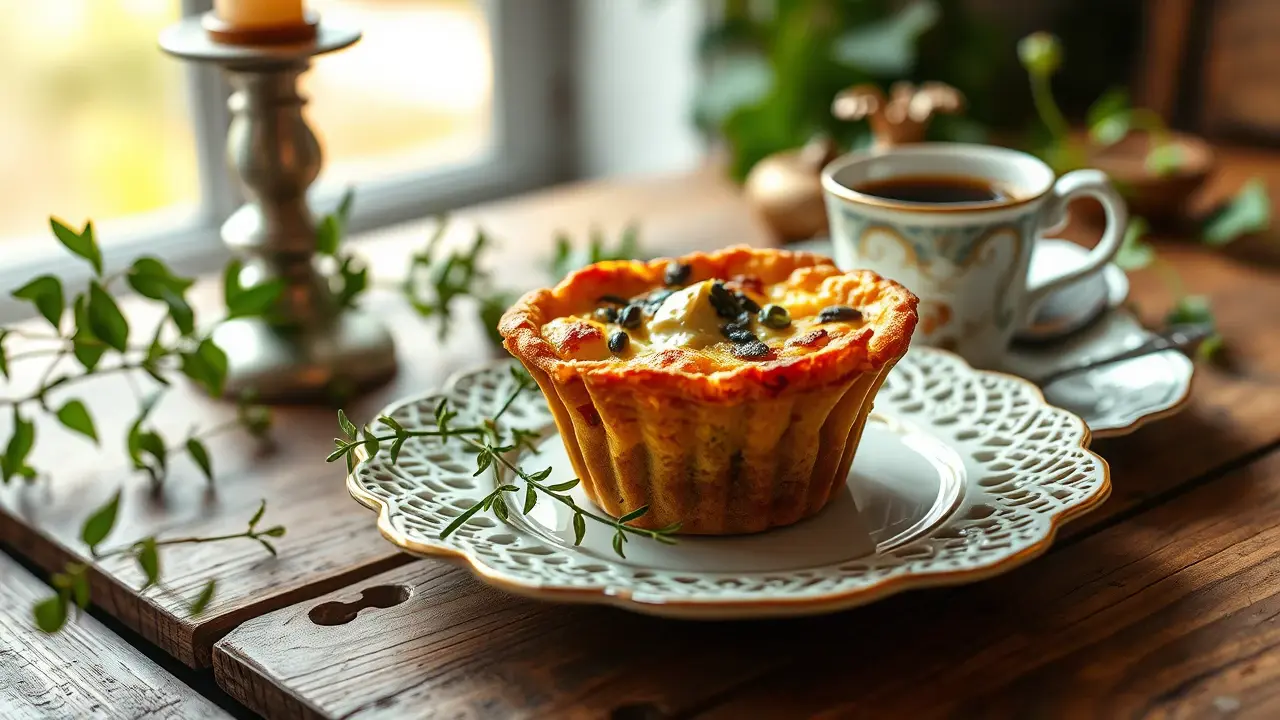
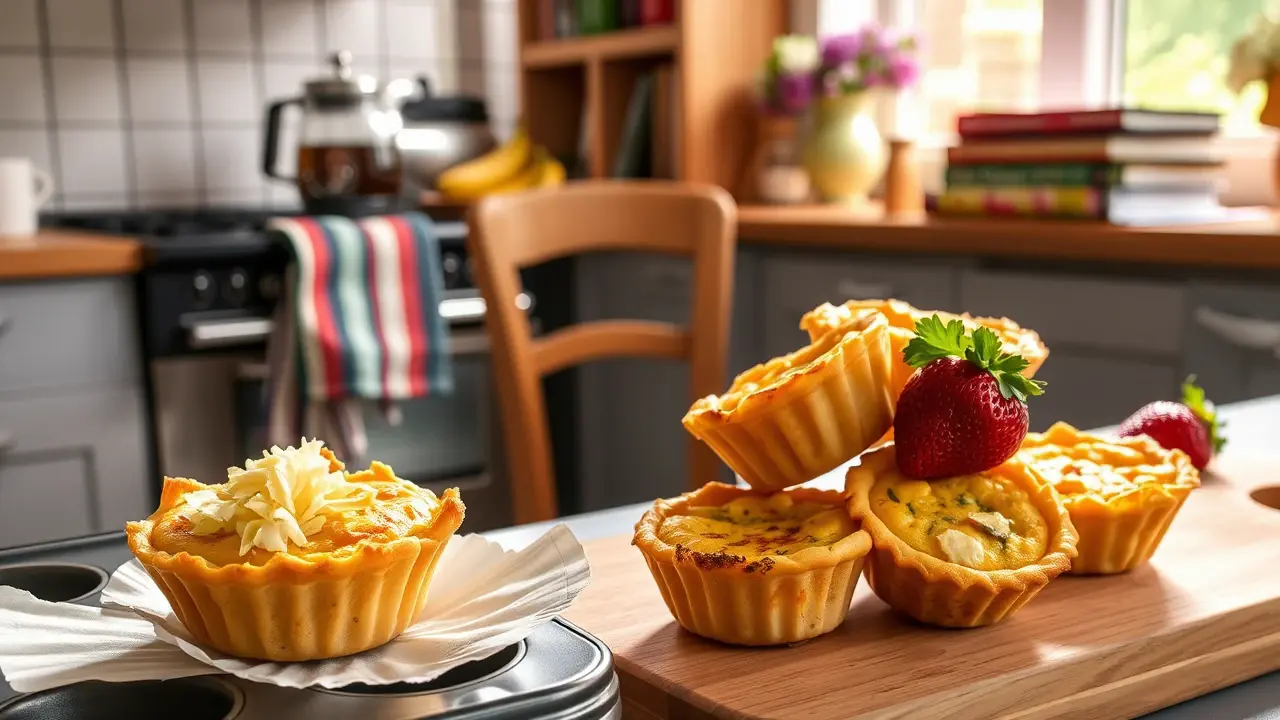
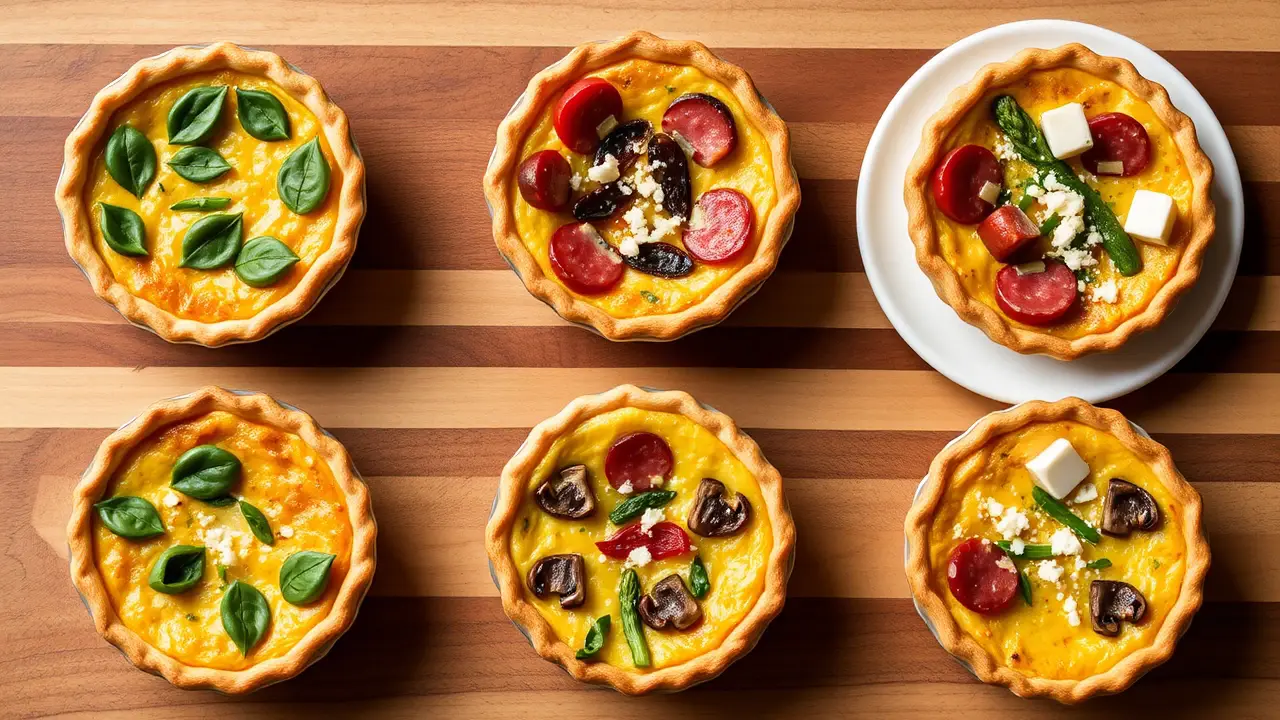
Nine Variants on Micro-Quiches: Veggies, Meats, and Cheeses Galore 🥧🌱🥓🧀
These delightful micro-quiches are versatile, bite-sized treasures perfect for brunch, gatherings, or a delicious snack. With nine unique combinations featuring various veggies, meats, and cheeses, you're bound to find a favorite (or two)!
Make them ahead of time or whip them up for last-minute guests. The best part is that you can customize them based on what's in your fridge.
Ingredients
For the base
- 1 cup of milk (dairy or non-dairy)
- 4 large eggs
- 1 cup of shredded cheese (your choice)
- 1 teaspoon of salt
- 1/2 teaspoon of pepper
- 1/2 teaspoon of garlic powder (optional)
Vegetable Variants
-
Spinach & Feta
- 1 cup fresh spinach, cooked and chopped
- 1/2 cup feta cheese
-
Mushroom & Swiss
- 1 cup mushrooms, sautéed
- 1/2 cup Swiss cheese
-
Roasted Red Pepper & Goat Cheese
- 1/2 cup roasted red peppers, diced
- 1/2 cup goat cheese
Meat Variants
-
Bacon & Cheddar
- 1/2 cup cooked bacon, crumbled
- 1/2 cup sharp cheddar cheese
-
Ham & Gruyère
- 1/2 cup diced ham
- 1/2 cup Gruyère cheese
-
Sausage & Pepper Jack
- 1/2 cup cooked sausage, crumbled
- 1/2 cup pepper jack cheese
Mixed Variants
-
Zucchini & Provolone
- 1 cup grated zucchini, drained
- 1/2 cup provolone cheese
-
Asparagus & Parmesan
- 1 cup asparagus, chopped and blanched
- 1/2 cup grated Parmesan cheese
-
Caramelized Onion & Blue Cheese
- 1 cup caramelized onions
- 1/2 cup crumbled blue cheese
Instructions
-
Preheat Oven: Preheat your oven to 375°F (190°C).
-
Prep the Base: In a large bowl, whisk together the milk, eggs, salt, pepper, and garlic powder until fully combined.
-
Combine Ingredients: Choose one of the variants and combine your selected ingredients in a separate bowl.
-
Mix It All Together: Stir the cheese into the egg mixture, then fold in the vegetable or meat mixture.
🥄 For a creamier quiche, you can add a splash of heavy cream or half-and-half to the egg mixture.
-
Fill the Muffin Tin: Grease a muffin tin, then pour the egg and filling mixture into each cup, filling them about 3/4 full.
-
Bake: Bake for 18-20 minutes, or until the quiches have puffed and are golden brown. A toothpick inserted in the center should come out clean.
-
Cool & Serve: Let them cool for a few minutes before gently loosening them from the pan. These micro-quiches can be enjoyed warm or at room temperature.
🧊 For an even easier clean-up, line your muffin tin with silicone liners or use parchment paper cups.
Variations
- Gluten-free: There’s no crust in this recipe, so it’s inherently gluten-free! Check your cheese and other ingredients to ensure they are also gluten-free friendly. 😊
- Dairy-free: Use a non-dairy milk and a dairy-free cheese alternative for a creamy yet guilt-free treat.
- Add Spices: Feel free to spice up your egg mixture with paprika, cayenne, or your favorite herbs!
- Freezing: These micro-quiches freeze well! After baking, let them cool completely, then store them in an airtight container or freezer bag for up to 3 months.
Whip up a batch of these micro-quiches, and you'll have a hit on your hands! 🌟
All Revisions
llm
# Nine Variants on Micro-Quiches: Veggies, Meats, and Cheeses Galore 🥧🌱🥓🧀 These delightful micro-quiches are versatile, bite-sized treasures perfect for brunch, gatherings, or a delicious snack. With nine unique combinations featuring various veggies, meats, and cheeses, you're bound to find a favorite (or two)! Make them ahead of time or whip them up for last-minute guests. The best part is that you can customize them based on what's in your fridge. ## Ingredients ### For the base - 1 cup of milk (dairy or non-dairy) - 4 large eggs - 1 cup of shredded cheese (your choice) - 1 teaspoon of salt - 1/2 teaspoon of pepper - 1/2 teaspoon of garlic powder (optional) ### Vegetable Variants 1. **Spinach & Feta** - 1 cup fresh spinach, cooked and chopped - 1/2 cup feta cheese 2. **Mushroom & Swiss** - 1 cup mushrooms, sautéed - 1/2 cup Swiss cheese 3. **Roasted Red Pepper & Goat Cheese** - 1/2 cup roasted red peppers, diced - 1/2 cup goat cheese ### Meat Variants 4. **Bacon & Cheddar** - 1/2 cup cooked bacon, crumbled - 1/2 cup sharp cheddar cheese 5. **Ham & Gruyère** - 1/2 cup diced ham - 1/2 cup Gruyère cheese 6. **Sausage & Pepper Jack** - 1/2 cup cooked sausage, crumbled - 1/2 cup pepper jack cheese ### Mixed Variants 7. **Zucchini & Provolone** - 1 cup grated zucchini, drained - 1/2 cup provolone cheese 8. **Asparagus & Parmesan** - 1 cup asparagus, chopped and blanched - 1/2 cup grated Parmesan cheese 9. **Caramelized Onion & Blue Cheese** - 1 cup caramelized onions - 1/2 cup crumbled blue cheese ## Instructions 1. **Preheat Oven**: Preheat your oven to 375°F (190°C). 2. **Prep the Base**: In a large bowl, whisk together the milk, eggs, salt, pepper, and garlic powder until fully combined. 3. **Combine Ingredients**: Choose one of the variants and combine your selected ingredients in a separate bowl. 4. **Mix It All Together**: Stir the cheese into the egg mixture, then fold in the vegetable or meat mixture. > 🥄 For a creamier quiche, you can add a splash of heavy cream or half-and-half to the egg mixture. 5. **Fill the Muffin Tin**: Grease a muffin tin, then pour the egg and filling mixture into each cup, filling them about 3/4 full. 6. **Bake**: Bake for 18-20 minutes, or until the quiches have puffed and are golden brown. A toothpick inserted in the center should come out clean. 7. **Cool & Serve**: Let them cool for a few minutes before gently loosening them from the pan. These micro-quiches can be enjoyed warm or at room temperature. > 🧊 For an even easier clean-up, line your muffin tin with silicone liners or use parchment paper cups. ## Variations - **Gluten-free**: There’s no crust in this recipe, so it’s inherently gluten-free! Check your cheese and other ingredients to ensure they are also gluten-free friendly. 😊 - **Dairy-free**: Use a non-dairy milk and a dairy-free cheese alternative for a creamy yet guilt-free treat. - **Add Spices**: Feel free to spice up your egg mixture with paprika, cayenne, or your favorite herbs! - **Freezing**: These micro-quiches freeze well! After baking, let them cool completely, then store them in an airtight container or freezer bag for up to 3 months. Whip up a batch of these micro-quiches, and you'll have a hit on your hands! 🌟name
Nine variants on micro-quiches: Veggies, Meats, and Cheeses galoreImages


Tags
- baked
- breakfast
- from-input
- quick-and-easy
- room-temp
- snack