Sally's Dreamy Cream Cheese Tarts 🍰🍓
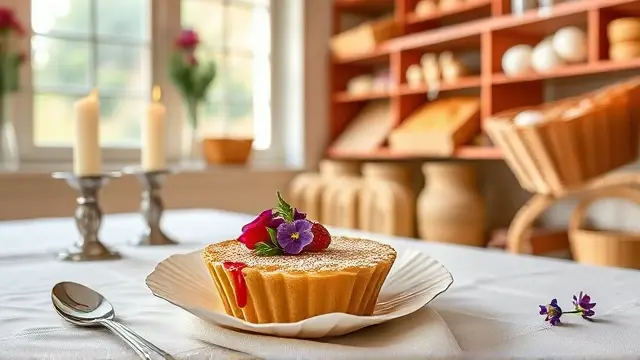
Indulge in these dreamy cream cheese tarts that are as delicious as they are beautiful! Perfect for gatherings, celebrations, or a sweet treat at home, these tarts boast a creamy filling nestled atop a crispy wafer base. Drizzle them with luscious strawberry pie filling for that extra touch of sweetness. They're sure to impress your family and friends!
Ingredients
For the Cream Cheese Filling
- 2 (8 oz.) packages cream cheese, softened
- 1 cup sugar
- 2 large eggs
- 1 tsp vanilla extract
For the Assembly
- 12 vanilla wafers
- Strawberry pie filling (for topping)
Instructions
- Beat the Cream Cheese: In a mixing bowl, beat the softened cream cheese until light and fluffy. This step is crucial for a smooth filling that will melt in your mouth!
🥄 Don’t skip the softening; it ensures your filling is creamy and avoids lumps. Leave the cream cheese out at room temperature for about 30 minutes before starting.
-
Add Sugar: Gradually add the sugar to the cream cheese mixture while mixing well. This will give your filling the perfect sweetness.
-
Incorporate Eggs and Vanilla: Add the eggs, one at a time, ensuring each is fully incorporated before adding the next. Finish by stirring in the vanilla extract for a hint of flavor.
-
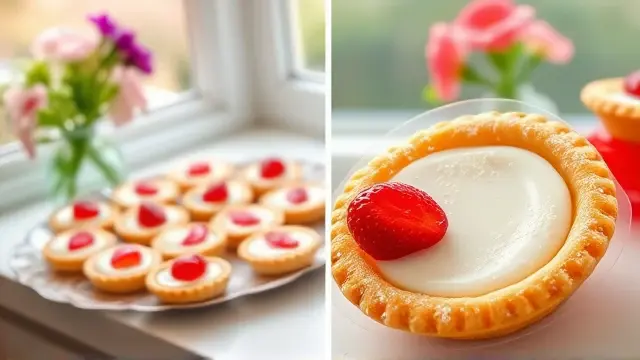
Prepare the Muffin Tin: Place a vanilla wafer in each cup of a paper-lined muffin tin.
-
Fill with Cream Cheese Mixture: Spoon the cream cheese mixture over the wafers, filling each cup generously.
-
Bake: Bake in a preheated oven at 350°F (175°C) for about 20 minutes, or until the filling is set.
-
Chill: Allow the tarts to cool in the muffin tin, then refrigerate overnight for the best texture and flavor.
-
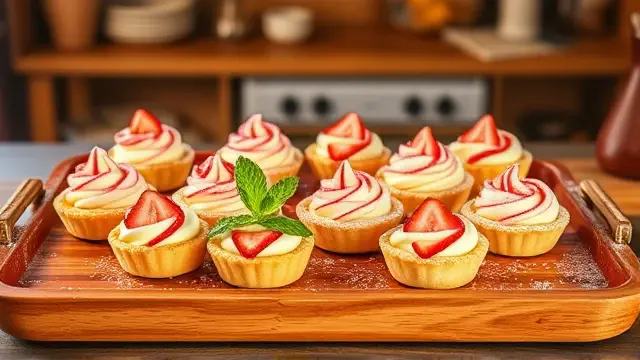
Serve: When ready to serve, top each tart with a dollop of strawberry pie filling. Enjoy the delightful contrast of the creamy filling and fruity topping!
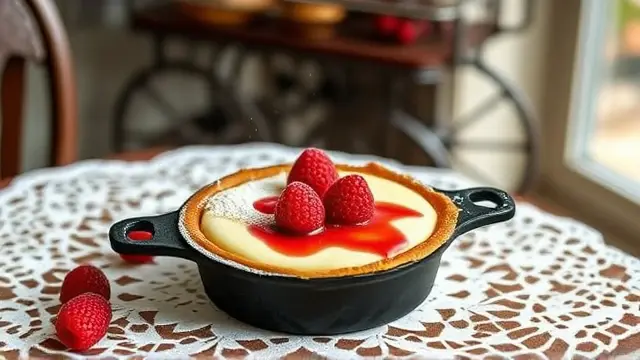
🍓 For an alternative topping, feel free to mix it up with fresh berries or a drizzle of chocolate syrup. The possibilities are endless!
Tips & Variations
- Add a Tangy Twist: Mix in a tablespoon of lemon juice or zest to the filling for a zesty flavor that complements the sweetness.
- Nutty Base: Substitute vanilla wafers with crushed nuts or almond cookies for an added crunch and a different flavor profile.
- Gluten-Free: To make these tarts gluten-free, use gluten-free wafers. Check that your cream cheese and pie filling are also gluten-free to keep the dish compliant.
- Bite-Sized Mini Tarts: For bite-sized versions, use a mini muffin tin and reduce baking time by a few minutes. These are perfect for parties!
Enjoy these delightful cream cheese tarts—they are sure to be a showstopper at any event! 🎉
All Revisions
ocr
Here's the text from the image: **CREAM CHEESE TARTS** **Ingredients:** - 2 - 8 oz. pkgs. cream cheese, softened - 1 cup sugar - 2 eggs - 1 tsp. vanilla - 12 vanilla wafers - strawberry pie filling **Instructions:** Beat cream cheese until light and fluffy. Gradually add sugar, mixing well. Add eggs, one at a time, beating well. Stir in vanilla. Place a wafer in paper lined muffin tin. Spoon cream cheese mixture over wafers, filling cups full. Bake at 350°F for 20 minutes. Leave in muffin tin and chill overnight. To serve, top with small amount of strawberry pie filling. Serves 12. Sally K. Mouncellm
# Sally's Dreamy Cream Cheese Tarts 🍰🍓 Indulge in these dreamy cream cheese tarts that are as delicious as they are beautiful! Perfect for gatherings, celebrations, or a sweet treat at home, these tarts boast a creamy filling nestled atop a crispy wafer base. Drizzle them with luscious strawberry pie filling for that extra touch of sweetness. They're sure to impress your family and friends! ## Ingredients ### For the Cream Cheese Filling - 2 (8 oz.) packages cream cheese, softened - 1 cup sugar - 2 large eggs - 1 tsp vanilla extract ### For the Assembly - 12 vanilla wafers - Strawberry pie filling (for topping) ## Instructions 1. **Beat the Cream Cheese**: In a mixing bowl, beat the softened cream cheese until light and fluffy. This step is crucial for a smooth filling that will melt in your mouth! > 🥄 Don’t skip the softening; it ensures your filling is creamy and avoids lumps. Leave the cream cheese out at room temperature for about 30 minutes before starting. 2. **Add Sugar**: Gradually add the sugar to the cream cheese mixture while mixing well. This will give your filling the perfect sweetness. 3. **Incorporate Eggs and Vanilla**: Add the eggs, one at a time, ensuring each is fully incorporated before adding the next. Finish by stirring in the vanilla extract for a hint of flavor. 4. **Prepare the Muffin Tin**: Place a vanilla wafer in each cup of a paper-lined muffin tin. 5. **Fill with Cream Cheese Mixture**: Spoon the cream cheese mixture over the wafers, filling each cup generously. 6. **Bake**: Bake in a preheated oven at 350°F (175°C) for about 20 minutes, or until the filling is set. 7. **Chill**: Allow the tarts to cool in the muffin tin, then refrigerate overnight for the best texture and flavor. 8. **Serve**: When ready to serve, top each tart with a dollop of strawberry pie filling. Enjoy the delightful contrast of the creamy filling and fruity topping! > 🍓 For an alternative topping, feel free to mix it up with fresh berries or a drizzle of chocolate syrup. The possibilities are endless! ## Tips & Variations - **Add a Tangy Twist**: Mix in a tablespoon of lemon juice or zest to the filling for a zesty flavor that complements the sweetness. - **Nutty Base**: Substitute vanilla wafers with crushed nuts or almond cookies for an added crunch and a different flavor profile. - **Gluten-Free**: To make these tarts gluten-free, use gluten-free wafers. Check that your cream cheese and pie filling are also gluten-free to keep the dish compliant. - **Bite-Sized Mini Tarts**: For bite-sized versions, use a mini muffin tin and reduce baking time by a few minutes. These are perfect for parties! Enjoy these delightful cream cheese tarts—they are sure to be a showstopper at any event! 🎉name
Sally's Cream Cheese TartsImages


Tags
- baked
- baking
- church-cookbook
- dinner-party
- indulgent
- snack
- vegetarian