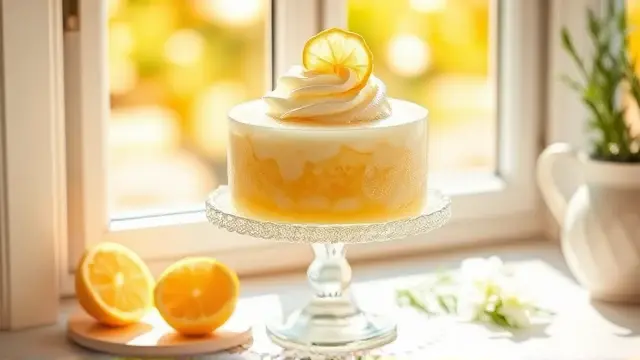
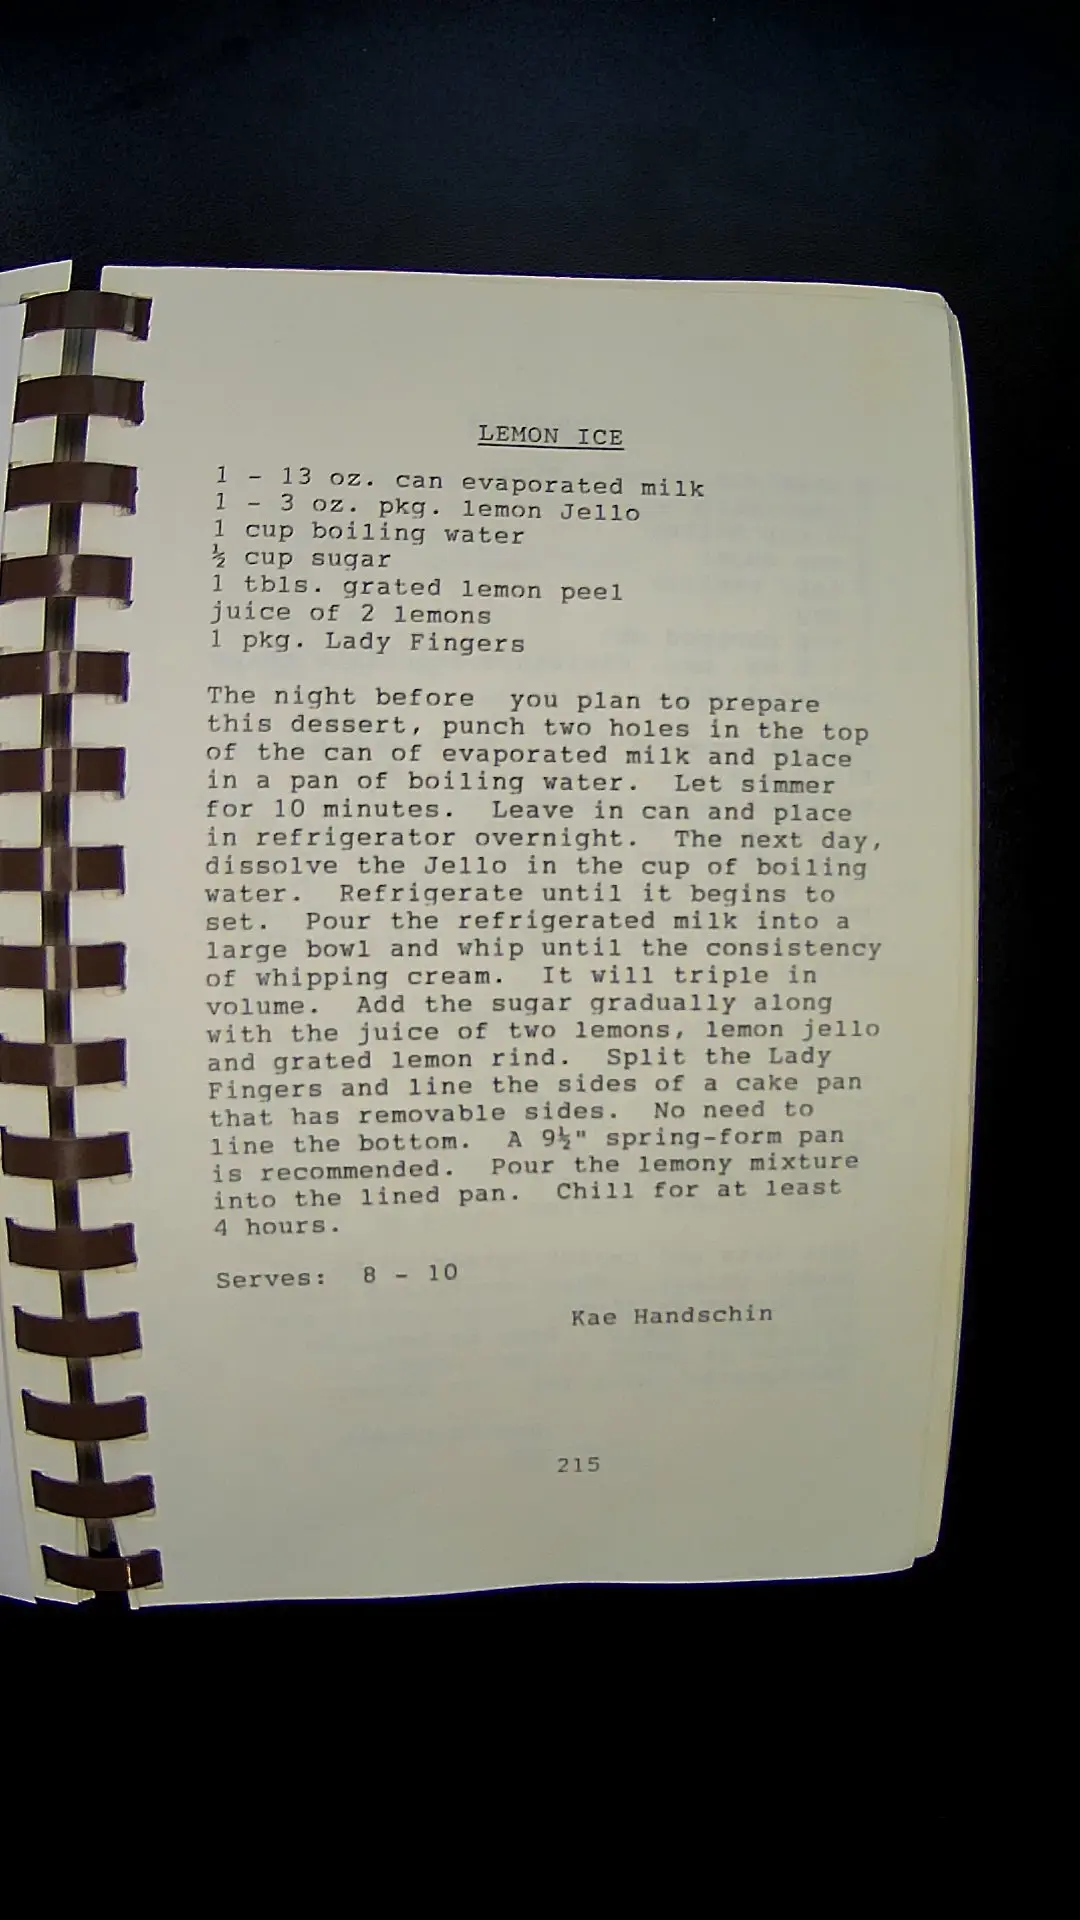
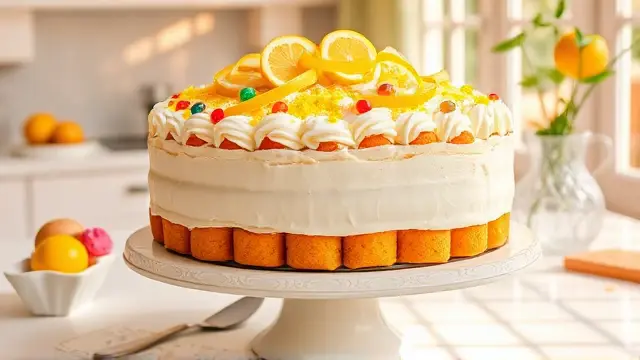
Kae's Refreshing Lemon Ice 🍋❄️
Beat the heat with this delightful and tangy Lemon Ice! This easy-to-make treat is perfect for summer gatherings or a light dessert any time of the year. Creamy, zesty, and unbelievably refreshing, it’s sure to impress your guests. Consider serving it with fresh berries or a sprig of mint for an extra touch! 🍓🌿
Ingredients
For the Lemon Ice
- 1 - 13 oz. can evaporated milk
- 1 - 3 oz. package lemon Jell-O
- 1 cup boiling water
- ½ cup sugar
- 1 tablespoon grated lemon peel
- Juice of 2 lemons
- 1 package Lady Fingers (around 24 pieces)
Instructions
-
Prep the Milk: The night before you plan to make your Lemon Ice, punch two holes in the top of the can of evaporated milk. Place it in a pan of boiling water and simmer for 10 minutes.
🔥 This process caramelizes the milk a bit, giving it a unique flavor and creamy texture!
-
Cool Down: Leave the can in the refrigerator overnight to cool and set.
-
Dissolve the Jell-O: On the day of serving, dissolve the Jell-O in 1 cup of boiling water. Set it aside to cool and refrigerate until it just begins to set.
-
Whip the Milk: Pour the refrigerated evaporated milk into a large bowl. Whip it until it reaches the consistency of whipped cream; expect it to triple in volume.
🥄 Be patient while whipping! This step is key for that fluffy texture.
-
Combine Ingredients: Gradually add the sugar, lemon juice, lemon Jell-O, and grated lemon rind to the whipped milk. Gently fold to combine.
-
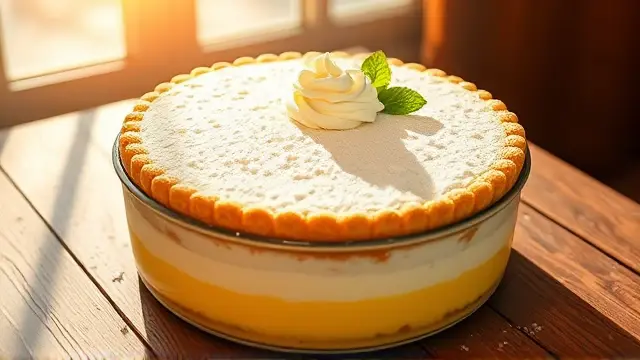
Prepare the Pan: Split the Lady Fingers and line the sides of a 9" spring-form pan (no need to line the bottom).
-
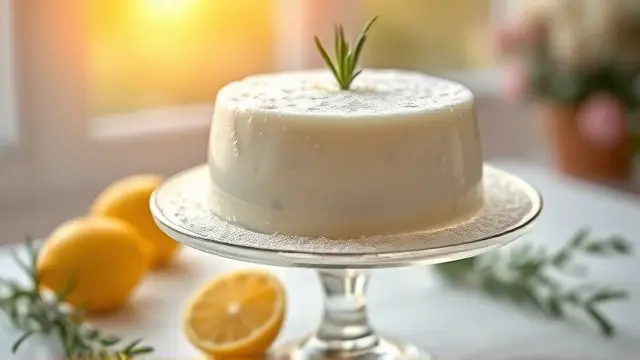
Chill the Mix: Pour the lemon mixture into the lined pan. Chill in the refrigerator for at least 4 hours, or until set.
⏳ For best results, allow it to chill overnight; this allows the flavors to intensify and the texture to firm up beautifully.
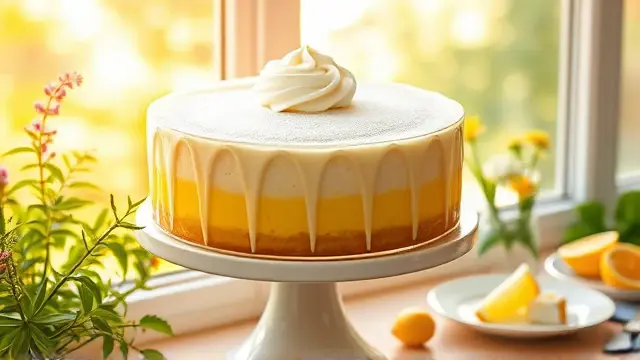
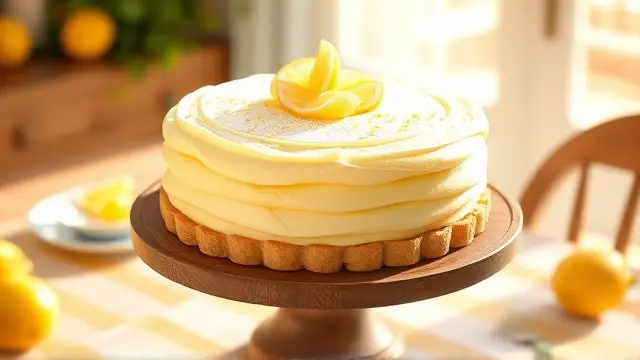
Serving Suggestions
- Serve slices of Lemon Ice on dessert plates garnished with fresh berries or mint for a pop of color and added flavor.
- Consider pairing it with a light sparkling drink for an extra festive touch! 🥂✨
Notes
- Make Ahead: This dessert can be made a day in advance, making it perfect for parties or get-togethers.
- Allergy-Friendly: If you have dietary restrictions, substitute the Lady Fingers with gluten-free options.
Enjoy your zesty homemade Lemon Ice! 🍋❄️
All Revisions
ocr
Here's the text from the image: --- **LEMON ICE** 1 - 13 oz. can evaporated milk 1 - 3 oz. pkg. lemon Jello 1 cup boiling water ½ cup sugar 1 tbls. grated lemon peel juice of 2 lemons 1 pkg. Lady Fingers The night before you plan to prepare this dessert, punch two holes in the top of the can of evaporated milk and place in a pan of boiling water. Let simmer for 10 minutes. Leave in can and place in refrigerator overnight. The next day, dissolve the Jello in the cup of boiling water. Refrigerate until it begins to set. Pour the refrigerated milk into a large bowl and whip until the consistency of whipping cream. It will triple in volume. Add the sugar gradually along with the juice of two lemons, lemon jello and grated lemon rind. Split the Lady Fingers and line the sides of a cake pan that has removable sides. No need to line the bottom. A 9" spring-form pan is recommended. Pour the lemony mixture into the lined pan. Chill for at least 4 hours. Serves: 8 - 10 Kae Handschin 215llm
# Kae's Refreshing Lemon Ice 🍋❄️ Beat the heat with this delightful and tangy Lemon Ice! This easy-to-make treat is perfect for summer gatherings or a light dessert any time of the year. Creamy, zesty, and unbelievably refreshing, it’s sure to impress your guests. Consider serving it with fresh berries or a sprig of mint for an extra touch! 🍓🌿 ## Ingredients ### For the Lemon Ice - 1 - 13 oz. can evaporated milk - 1 - 3 oz. package lemon Jell-O - 1 cup boiling water - ½ cup sugar - 1 tablespoon grated lemon peel - Juice of 2 lemons - 1 package Lady Fingers (around 24 pieces) ## Instructions 1. **Prep the Milk**: The night before you plan to make your Lemon Ice, punch two holes in the top of the can of evaporated milk. Place it in a pan of boiling water and simmer for 10 minutes. > 🔥 This process caramelizes the milk a bit, giving it a unique flavor and creamy texture! 2. **Cool Down**: Leave the can in the refrigerator overnight to cool and set. 3. **Dissolve the Jell-O**: On the day of serving, dissolve the Jell-O in 1 cup of boiling water. Set it aside to cool and refrigerate until it just begins to set. 4. **Whip the Milk**: Pour the refrigerated evaporated milk into a large bowl. Whip it until it reaches the consistency of whipped cream; expect it to triple in volume. > 🥄 Be patient while whipping! This step is key for that fluffy texture. 5. **Combine Ingredients**: Gradually add the sugar, lemon juice, lemon Jell-O, and grated lemon rind to the whipped milk. Gently fold to combine. 6. **Prepare the Pan**: Split the Lady Fingers and line the sides of a 9" spring-form pan (no need to line the bottom). 7. **Chill the Mix**: Pour the lemon mixture into the lined pan. Chill in the refrigerator for at least 4 hours, or until set. > ⏳ For best results, allow it to chill overnight; this allows the flavors to intensify and the texture to firm up beautifully. ## Serving Suggestions - Serve slices of Lemon Ice on dessert plates garnished with fresh berries or mint for a pop of color and added flavor. - Consider pairing it with a light sparkling drink for an extra festive touch! 🥂✨ ## Notes - **Make Ahead**: This dessert can be made a day in advance, making it perfect for parties or get-togethers. - **Allergy-Friendly**: If you have dietary restrictions, substitute the Lady Fingers with gluten-free options. Enjoy your zesty homemade Lemon Ice! 🍋❄️name
Kae's Lemon IceImages


Tags
- baking
- cold-dish
- dinner-party
- from-input
- indulgent
- summer